Our top DIY painting tips to get those summer projects done!
If you’re here reading our top DIY painting tips, it’s probably not by accident! You’re one of many typical Aussies, wanting to make use of our warmer weather to get all those outdoor projects finished. And at a wild guess, you’ve decided to re-vamp the outside of your home with a fresh coat of paint?
Well, even if you’ve got something else in mind to paint and revamp, our three DIY painting tips below should help get you well on your way to getting the job done. Make sure you read through all our tips, check instructions and guides for specific products you’ll be using, and put together a clear plan of what, how and when you’ll do things, BEFORE you get started! (Otherwise you might find yourself giving us a call to come and finish the job for you!)
Tip #1 – Get the gear
You can’t do the job of a professional using sub-standard or cheap products and equipment. Sure, you might find a few things lying around the shed that will substitute for some of these things, but ultimately, do yourself a favour and get the right gear to begin with. It’s always easier to do a job well when you have the best equipment on hand.
Depending on your specific project, you’ll probably need:
– Your paint! Obiviously!
Make sure you’ve got the right paint and primers for the job. You can’t use an interior product outside – you’ll have a world of problems if you do. Read the labels carefully to see what’s suitable and what’s not.
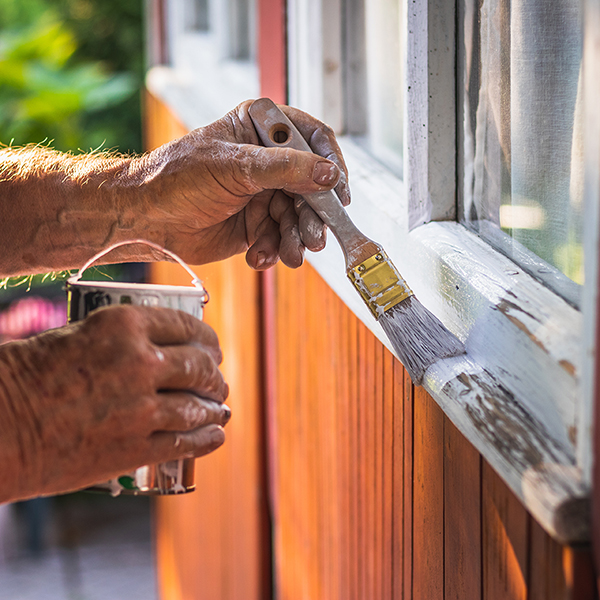
– Pressure cleaner.
Don’t have one? Hire one! You can never underestimate the results of using a pressure cleaner over simply hosing down a wall.
– Paintbrushes, rollers and spray gun.
You’ll almost certainly need to do cutting in and intricate work. Good quality brushes make this task a lot easier and give a much cleaner finish. Make sure your rollers are suited to the type of paint you’ll be using as well as the surface you’ll be painting, and for the finish you want to achieve. Of course, if you’re experienced in using one, a spray gun could potentially save you hours of manual painting – but be warned – they are not for the faint-hearted!
– Painters tape.
Again – quality is everything! Last thing you want is tape that won’t stick, or sticks too much, or tears every 5cm.
– Drop sheets.
This goes without saying really. Otherwise you’ll be starting a massive clean-up job once your painting tasks are done…
– Ladder.
Well – it depends how high you need to paint. But if it’s anything above arms reach, a good, sturdy ladder is needed.
– Paint scrapers and spackle knives.
It doesn’t hurt to have a few different sizes on hand.
– Sanding blocks.
Have a few different grits on hand, and lots of it.
– Exterior caulk and caulking gun.
Check your products carefully, make sure they’re right for the job you’ll be doing. A good quality caulking gun really can make this task easier which will help give a more professional finish.
Of course, if you’re looking at this list and wondering how much this is all going to cost, particularly if this is going to be a one-off job for you, you might decide at this point that it’s worth getting a quote from a professional painter. You might be surprised at how affordable it can be – if you add up the cost of all your equipment, plus the time you’ll spend prepping and painting, you might find there’s a fair bit of value in paying for a professional to do the job for you! You also won’t have to worry about stocking up on all that painting gear that you’ll just have to store in the shed never to be used again once the job is done!
Tip #2 – Preparation is Key!
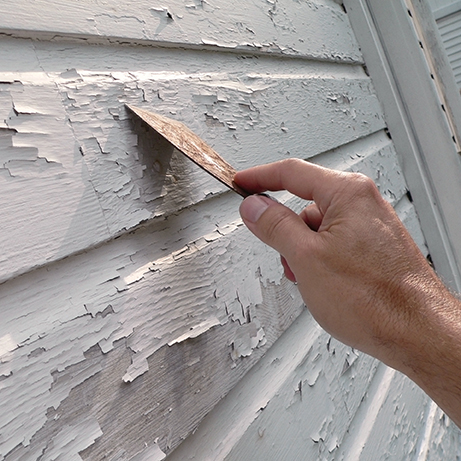
This is probably our biggest tip – your preparation is what will set you apart from the other DIY-ers out there! Spend the time setting up and prepping to get your work space perfect, before you even think about touching any paint!
Clean the walls, repair damage, sand back, protect adjacent spaces. Don’t leave any dust, dirt, rust, cracks, loose paint or any other imperfections on the surface you’re about to paint. Anything that remains when you start to paint, will stand out like a sore thumb once you’re done. Don’t assume you can paint over them and ‘no one will notice’. They will! Trust us.
If you’ve come looking for DIY painting tips – don’t go easy on this step. Get it sorted first – and thank us later!
Don’t Touch The Paint… Yet!
By this stage, you’re dying to open that paint can! We know… But don’t! The preparations haven’t finished yet! So you’ve cleaned the walls and removed the grime and added protective covers / sheeting over fixtures and windows. Now it’s time to add the caulking, the gap filler and the stain-blocking primer.
Tip #3 – Get paint that sticks!
That’s right – it’s time to get your hands dirty (so to speak!).
As we said earlier in Tip #1, you need to know your products. Make sure your paint will stick to the surface you intend to paint. It might sound strange, but did you know that not all paints will stick to all surfaces? This is why selecting the right paint and primer is essential in achieving a flawless look.
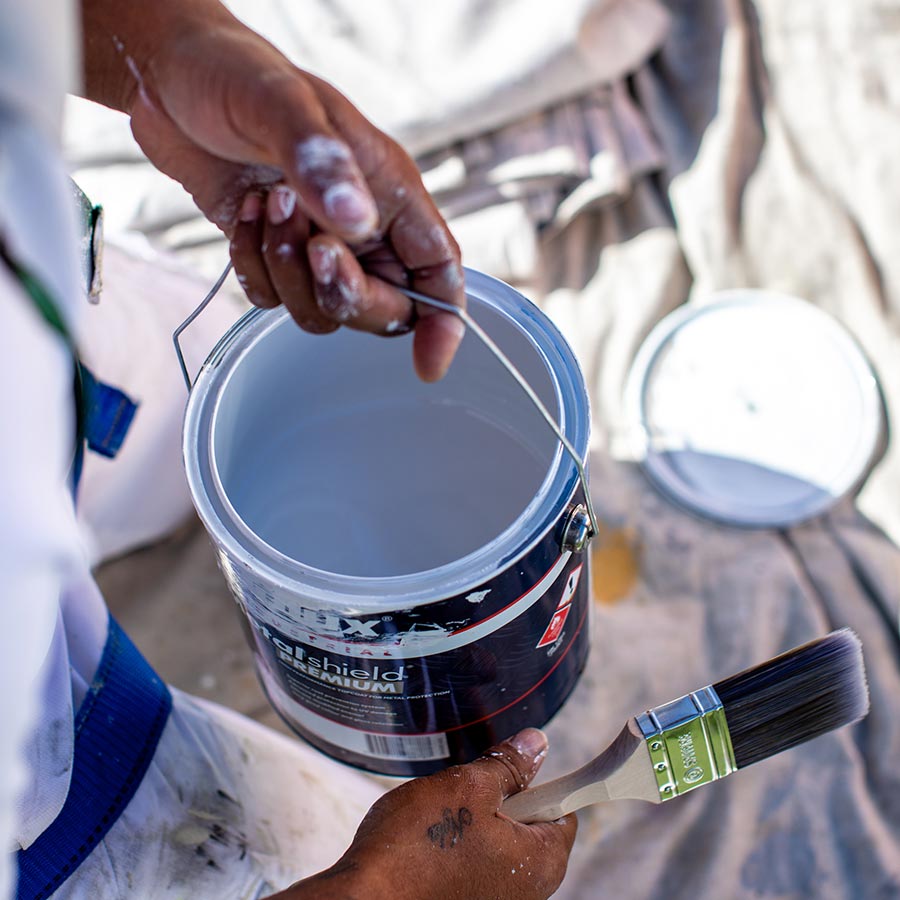
Paints come with a range of different qualities and are all suited to specific types of jobs with their own practical and decorative jobs to do. You’ll also need the right type of primer to go with the paint you decide to use. Quite often, you’ll need to determine what sort of paint was used on the original surface in order to know which paint will be best to use over the top.
Once you’ve got the right paint for the job, create a plan. As with all painting jobs, you’ll need to work methodically avoid overlapping marks and other issues arising from paint drying too fast or too slow.
Is it worth giving it a go or should you be speaking to a professional?
So we’ve hopefully given you enough of a snapshot here in this article to see some of what’s needed to get your outdoor summer projects done. Our DIY painting tips are designed to guide you in the right direction. However, if you’ve read this far down, then our guess is that you might not be feeling 100% confident and ready to get started on your own. Give us a call if you have any questions – it won’t cost you anything to have a chat with us. Remember – revamping your biggest assets is something you want to get right the first time. We’re only too happy to help you achieve the results you desire!
Jay Duggin Painting provide a 5 year workmanship warranty.
A workmanship warranty, unlike a product warranty, warrants that the product will not fail due to incorrect preparation and procedures of the contractor.
You will have confidence that your Dulux Accredited Painter will complete a quality job delivered in a professional manner from quotation, specification to application.
“The Warranty guarantees that the coating system applied will not peel, flake or blister for a period of five years as a result of faulty surface preparation or application of the coating system, subject to the conditions laid out in the Warranty document.”

